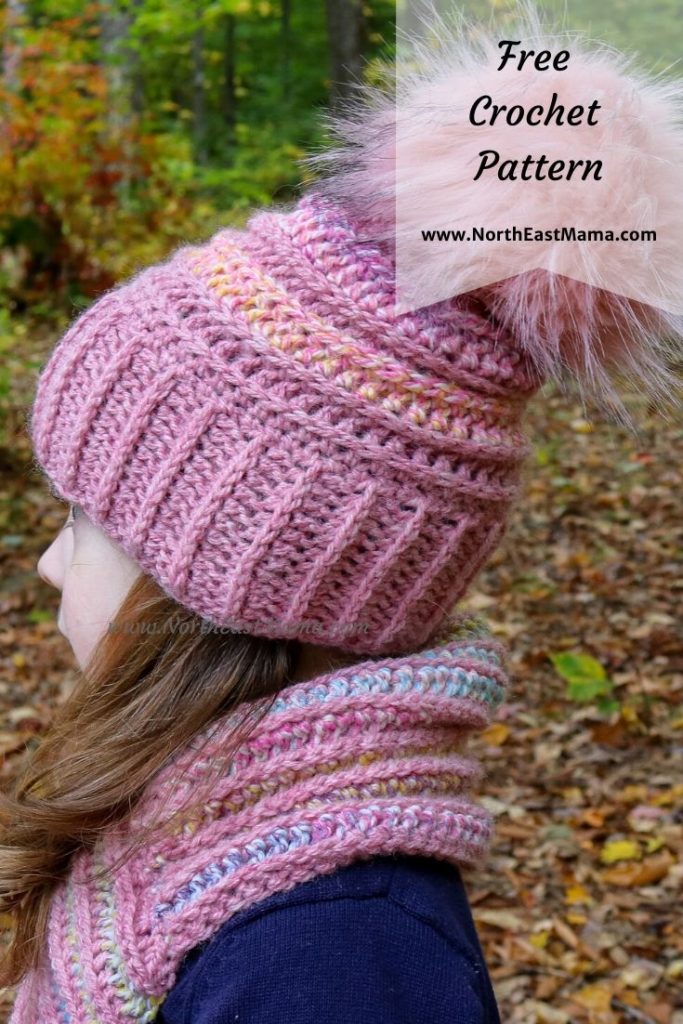
Do you have a “No, I can do it by myself!” child? If you do then you know that while yes they can do a lot of amazing things on their own, sometimes they just don’t know how to do it they way you need them to. Say hello to the “Yes, you can do it!” crochet hat and cowl set!
THIS POST MAY CONTAIN AFFILIATE LINKS,
VIEW MY DISCLOSURE POLICY HERE FOR DETAILS.
The hat is cute and stretchy, so they can put it on without help. But the cowl….well the cowl is my favorite part!
Pin it now, Make it later
It was designed, so the independent child could put it on by themselves without worrying about them tying it correctly to keep their neck warm!
Add this pattern to your Ravelry projects by clicking here.
Yep! No more fussing about that little bit of exposed skin when your child’s jacket is zipped but not zipped up all the way. This cowl has them (and you) covered.
You can purchase an ad free, PDF download of this
pattern on Etsy here or Ravelry here.
The Yarn
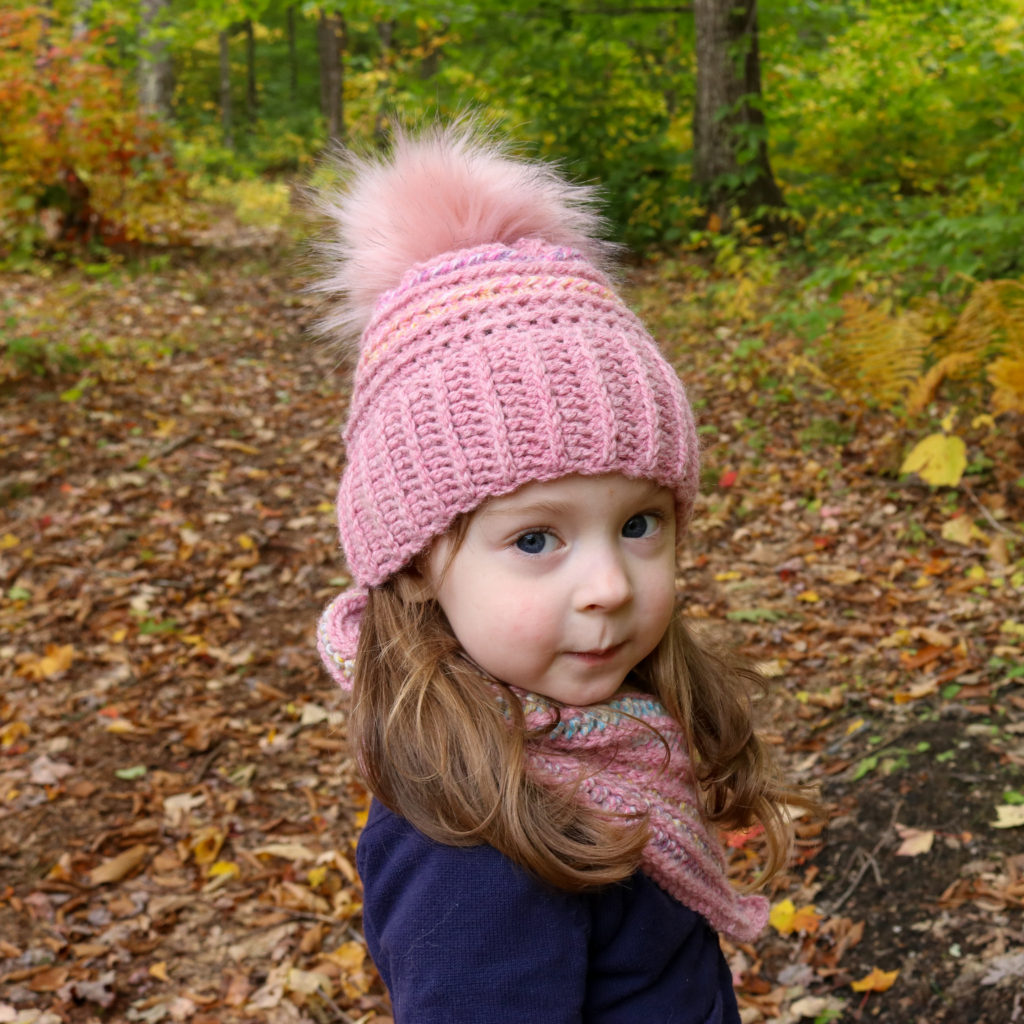
The yarn I chose for this hat and cowl set was originally purchased to crochet a sweater. However, once I unpacked all the winter clothes from last year, I realized the sweaters I made Little Miss Sunshine, still fit, but she needed a new hat and cowl.
For everyday wear, I really like Plymouth Encore yarn. It is machine washable and dryable. It is incredibly soft yet sturdy and comes in so many colors. Basically it is the perfect yarn for anything kid-related!
Materials
Plymouth Encore Worsted
– Worsted – 2 Skeins, 400yds/200g in Pink Heather
– Colorspun – 1 Skein, 200yds/100g in Very Bright Kids
Crochet Hooks
– US G/7 4.5mm
– US H/8 5.00mm
PomPom or PomPom Maker
Yarn Needle
Scissors
Crochet Stitches Used
Foundation Half Double Crochet (FHDC) – FHDC Tutorial
Chain (CH)
Single Crochet (SC)
Half Double Crochet (HDC)
Half Double Crochet in 3rd Loop
Notes
- This pattern uses the crochet “Rib Stitch”
- Click here for a Foundation Half Double Crochet tutorial
Size
This crochet pattern is sized for a child with a head circumference of 17″-19″ (43cm – 48cm)
Gauge
2”x2” square: 9 HDC stitches x 6 HDC rows
Cowl Pattern
You can purchase an ad free, PDF download of this
pattern on Etsy here or Ravelry here.
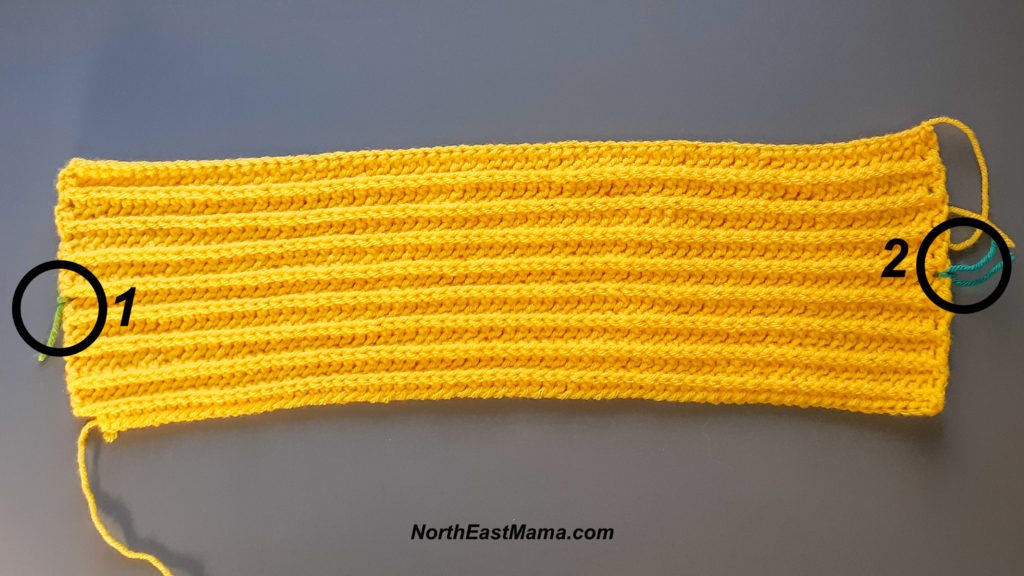
Color A: FHDC 78
Row 1: (Color B) CH 1, Turn. HDC in 3rd loop in each stitch across = 78 HDC
Row 2: (Color A) CH 1, Turn. HDC in 3rd loop in each stitch across = 78 HDC
Repeat Row 1 & 2, 8 more times.
Using Color A, SL ST across = 78 SL ST
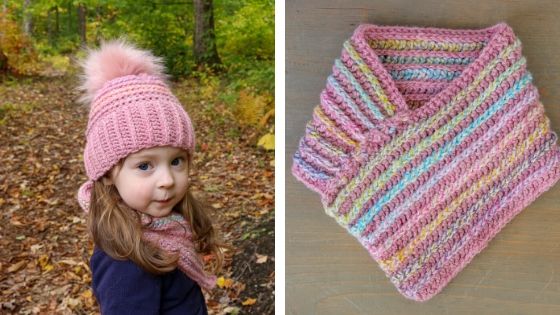
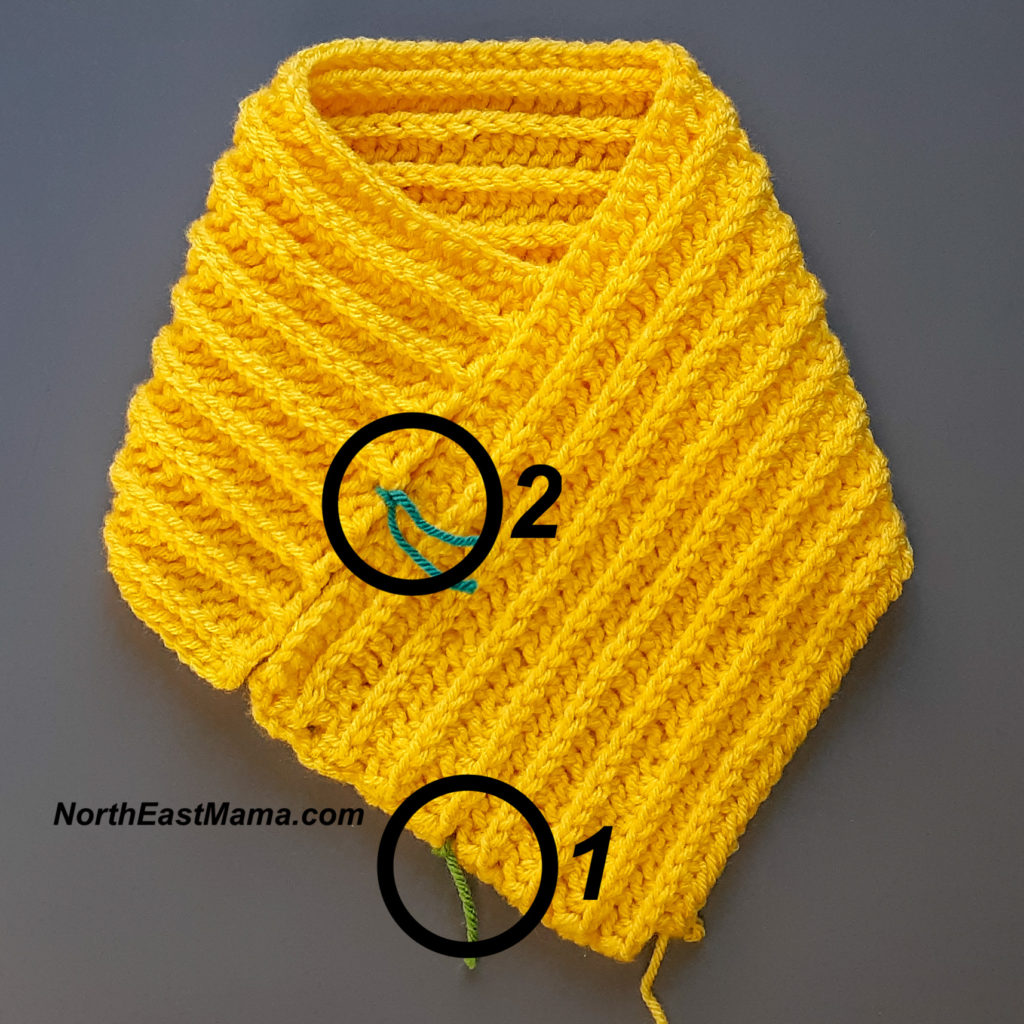
Weave in all ends. You should have what looks like a short scarf. Next step is to fold so the ends meet in a triangle, see pictures below.
Hat Pattern
Using Hook 4.5mm – Starting with the brim
Color A: FHDC 10
Row 1: CH 1, Turn. HDC in 3rd loop in each stitch across = 10 HDC
You can purchase an ad free, PDF download of this
pattern on Etsy here or Ravelry here.
Repeat Row 1 until brim is long
Join
Switch to the 5mm hook.
SC evenly around
Round 1: CH 1, Turn. HDC in each stitch.
Round 2: CH 1, Turn. HDC in 3rd loop in each stitch across.
Switch to Color B
Round 3: CH 1, Turn. HDC in 3rd loop in each stitch across.
Round 4: CH 1, Turn. HDC in 3rd loop in each stitch across.
Switch to Color A
Round 5: CH 1, Turn. HDC in 3rd loop in each stitch across.
Round 6: CH 1, Turn. HDC in 3rd loop in each stitch across.
Repeat Rows 3-6, two more times for a standard beanie. If you want more slouch in your beanie, repeat Rows 3-6 three more times.
Using your yarn needle, weave the long end in and out of the top loops of the last round. Pull tight. Knot and sew the opening closed.